[Sugarcube 2.31.1] Images to right side of text

Greetings. I wouldn’t say I’m new to twine but it’s been over 2 years since I last used it. I would like to have a dedicated section for images on every passage on the right side of the text. The player will almost always be interacting with a character and I would like images of the characters to be present.

Here’s an example of what I’d like:

1 Like

Hey,

Two key things you need to do (with Javascript).

  1. Create the image pane when the story begins
  2. Adjust the contents (or hide) the image pane at the start of each passage.

Creating the Image Pane

Add this line to your Story Javascript.

$("<div id='npc'></div>").insertAfter($("#story"));

This will create a new DIV element with the ID npc right after the main story DIV in your game’s HTML. That DIV will persist for the entire course of the story.

In order to get it to display where you want, put something like this in the Story Stylesheet.

#npc
{
  position: fixed;
  top: 0;
  right: 0;
  width: 300px;
  background-color: red;
  height: 100%;
}

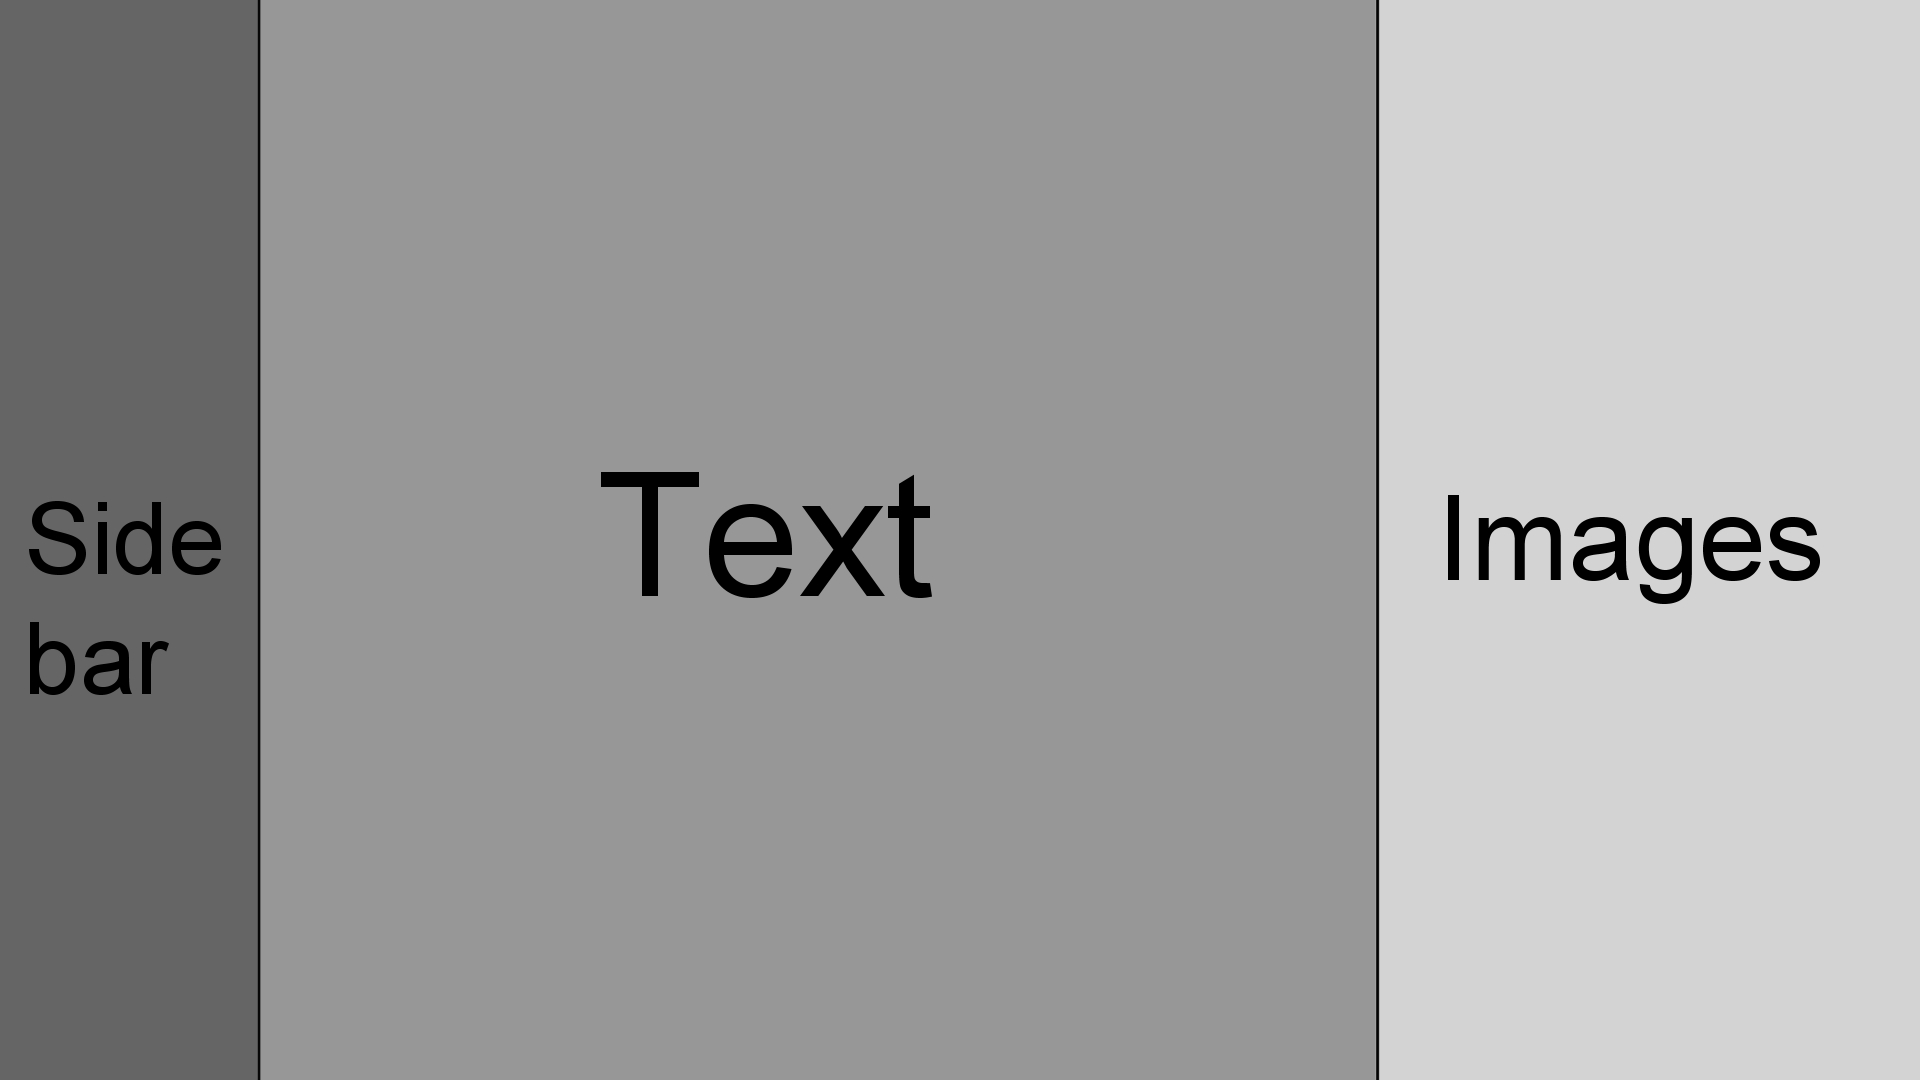
That’ll make it appear fixed on the right side of the screen. I made the background red for now just so you can clearly see it. You’ll need to tweak this to your own needs, of course. You’ll also have to deal with adjusting the margins on the story text to make sure the text doesn’t go underneath the image area (we can work on that later).

Okay, now we have our image pane.

Putting Content in the Pane

There’s a couple ways to do this, it really depends on how you want to structure your story. I’ll try to keep it open to tweaking.

Add the following to your story Javascript

// Runs every time a new passage is rendered. 
// Happens at the end of the passage processing,
// so you'll have the latest variables set by the passage.
$(document).on(":passagerender", function(ev) {
	
	// If the Twine variable $showNPC is set to true
	if(variables().showNPC) {
		// Render NPC_PASSAGE into the #npc element
		setPageElement("npc", "NPC_PASSAGE");
		
		// Make sure it's visible
		$("#npc").show();
	}
	else {
		// Otherwise, hide the elemement
		$("#npc").hide();
	}
});

After each new passage, this will check if the variable $showNPC is set. If it is, your NPC panel will be set to visible and the contents of the passage NPC_PASSAGE will get freshly rendered into it. $showNPC is not defined or false, it’ll be hidden.

Make sure to actually create a passage called NPC_PASSAGE and check it out. From that passage, you can check things like what NPC is talking and display the correct image.

There’s plenty of ways to customize this. You could, for example, dynamically choose what passage to render in setPageElement depending on various variables.

2 Likes

Brook’s solution is good.

Additionally, if you want to create your own story layout, then you can do that within the StoryInterface special passage (see the documentation for details).

If you want to keep the UI bar on the left, then just add this to your game’s JavaScript section:

UIBar.init();
UIBar.start();

and add this to your game’s Stylesheet section:

/* style-core-display */
#story{z-index:10;margin:2.5em}@media screen and (max-width:1136px){#story{margin-right:1.5em}}#passages{max-width:54em;margin:0 auto}

/* style-ui-bar */
#story{margin-left:20em;-webkit-transition:margin-left .2s ease-in;-o-transition:margin-left .2s ease-in;transition:margin-left .2s ease-in}#ui-bar.stowed~#story{margin-left:4.5em}@media screen and (max-width:1136px){#story{margin-left:19em}#ui-bar.stowed~#story{margin-left:3.5em}}@media screen and (max-width:768px){#story{margin-left:3.5em}}#ui-bar{position:fixed;z-index:50;top:0;left:0;width:17.5em;height:100%;margin:0;padding:0;-webkit-transition:left .2s ease-in;-o-transition:left .2s ease-in;transition:left .2s ease-in}#ui-bar.stowed{left:-15.5em}#ui-bar-tray{position:absolute;top:.2em;left:0;right:0}#ui-bar-body{height:90%;height:calc(100% - 2.5em);margin:2.5em 0;padding:0 1.5em}#ui-bar.stowed #ui-bar-body,#ui-bar.stowed #ui-bar-history{visibility:hidden;-webkit-transition:visibility .2s step-end;-o-transition:visibility .2s step-end;transition:visibility .2s step-end}#ui-bar{background-color:#222;border-right:1px solid #444;text-align:center}#ui-bar a{text-decoration:none}#ui-bar hr{border-color:#444}#ui-bar-history [id|=history],#ui-bar-toggle{font-size:1.2em;line-height:inherit;color:#eee;background-color:transparent;border:1px solid #444}#ui-bar-toggle{display:block;position:absolute;top:0;right:0;border-right:none;padding:.3em .45em .25em}#ui-bar.stowed #ui-bar-toggle{padding:.3em .35em .25em .55em}#ui-bar-toggle:hover{background-color:#444;border-color:#eee}#ui-bar-history{margin:0 auto}#ui-bar-history [id|=history]{padding:.2em .45em .35em}#ui-bar-history #history-jumpto{padding:.2em .665em .35em}#ui-bar-history [id|=history]:not(:first-child){margin-left:1.2em}#ui-bar-history [id|=history]:hover{background-color:#444;border-color:#eee}#ui-bar-history [id|=history]:disabled{color:#444;background-color:transparent;border-color:#444}#ui-bar-body{line-height:1.5;overflow:auto}#ui-bar-body>:not(:first-child){margin-top:2em}#story-title{margin:0;font-size:162.5%}#story-author{margin-top:2em;font-weight:700}#menu ul{margin:1em 0 0;padding:0;list-style:none;border:1px solid #444}#menu ul:empty{display:none}#menu li{margin:0}#menu li:not(:first-child){border-top:1px solid #444}#menu li a{display:block;padding:.25em .75em;border:1px solid transparent;color:#eee;text-transform:uppercase}#menu li a:hover{background-color:#444;border-color:#eee}#menu a,#ui-bar-history [id|=history],#ui-bar-toggle{-webkit-user-select:none;-moz-user-select:none;-ms-user-select:none;user-select:none}#menu-core li[id|=menu-item] a:before,#ui-bar-history [id|=history],#ui-bar-toggle:before{font-family:tme-fa-icons;font-style:normal;font-weight:400;font-variant:normal;text-transform:none;line-height:1;speak:none}#ui-bar-toggle:before{content:"\e81d"}#ui-bar.stowed #ui-bar-toggle:before{content:"\e81e"}#menu-item-saves a:before{content:"\e82b\00a0"}#menu-item-settings a:before{content:"\e82d\00a0"}#menu-item-restart a:before{content:"\e82c\00a0"}#menu-item-share a:before{content:"\e82f\00a0"}

Enjoy! :grinning:

Interesting. I didn’t realize it was that easy to re-add the UI bar like that. I’ve usually avoided customizing StoryInterface because you end up throwing the whole SugarCube UI out the window (unless you want to re-create it all yourself).

Thanks, this works really well, however, is there a way to have the images scroll with the text? Currently, the text will scroll if there is more content than the page can show but the image pane doesn’t since they are separate entities. I tried the overflow property but that just adds a separate scrollbar to the image pane. The images I’m planning to use are 700-800 px high and my story will have up to 3 NPCs displayed at once.

1 Like

Hey,

So in that case you want to have the npc div created inside the story one. Since the story div gets cleared every time, you need to remake it every time. Use this Javascript instead.

$(document).on(":passagerender", function(ev) {
	// Only when showNPC is on
	if(variables().showNPC) {
		// prepend a DIV inside the story DIV
		var npcDiv = $("<div id='npc'></div>").prependTo(ev.content);

		// Load NPC_PASSAGE into it
		setPageElement(npcDiv, "NPC_PASSAGE");
	}
});

That’ll put our npc div at the start of the story area at the end of each passage. To make it appear on the right, the best way is probably to have it float right? Use this CSS instead (get rid of position: fixed).

#npc
{
  float: right;
  width: 300px;
  background-color: red;
}

P.S. You can also throw this into your stylesheet to make sure images in there don’t extend beyond the width.

#npc img { max-width: 100%; }

Now just play with the CSS as you like to get it all to display how you want.

1 Like

So, I tried that and every time I advance to a new passage, the images multiply, towards the left. Are you getting the same results?

1 Like

So, for now, I am simply using a div with a class “img-cont” and using css to align it to the right side of the page.

.img-cont {
  display: block;
  max-width: 400px;
  height: auto;
  margin: 1em;
  float: right;
}

.img-cont img {
  max-width: 400px;
  height: auto;
}

This gives me the intended effect, though it does require me to call the images on every passage manually.

Hey, my mistake. I just tested this solution and it works.

Typo on my part.

$(document).on(":passagerender", function(ev) {
	// Only when showNPC is on
	if(variables().showNPC) {
		// prepend a DIV inside the story DIV
		var npcDiv = $("<div id='npc'></div>").prependTo(ev.content);

		// Load NPC_PASSAGE into it
		setPageElement(npcDiv, "NPC_PASSAGE");
	}
});

Edited my previous post with the correct code. Basically you need to add the npc div to the incoming passage’s content div, not the story div.

1 Like

Yep, that works. Thanks for the help!

Complete beginner here and I need help with this. I get that this display image from the “NPC_Passage” but how do I change the image?

Create a passage called NPC_PASSAGE and inside add the image you want (though the Image markup or the <img> HTML markup.)

I’m already doing that. The image is already showing but I need a way to change the image and not just show 1. Like if it’s for showing NPC of interest then the image will have to change when the NPC change.

You can use a conditional statement for that, and indicate the different conditions to show the different images.

<<if [Condition]>>
   Image 1
<<elseif [Condition2]>>
   Image 2
<</if>>
1 Like

Oh, that works like a charm. Thank you very much.