Twine Version: 2.11.1.0
I have an interactive map I want to incorporate in my project that utilizes blocks of text appearing when the player hovers over the specific map locations. I want these hoverblocks to appear in the blank text window I’ve formatted for them, and I can negotiate that with some manipulation of their css properties (left: 30%, top: 15%, etc.) while I keep them at ‘position: fixed’.
This looked like it was working until I tested the project at a different resolution and found that while my text windows and map elements (just some basic shapes made in css and thrown about) were maintaining their positioning, the hoverblocks do not because of course they’re fixed (or at least that’s why I assume). This leads to them appearing crooked or misaligned if viewed at any other resolution than the one I first programmed them for (1920x1080).
For the life of me I cannot figure out how to remedy this. Using ‘position: relative’ or ‘position: absolute’ makes it impossible for me to align them with the intended text windows, I think it probably has to do with how I’ve tied together my CSS elements? I’m no pro at this, I learned about how to make basic hoverblocks from another forum and just imported the technique…
What I would love to do instead would be to abandon the hoverblocks in favor of a single text window with a string I can update upon hovering over each element, but that might not be a CSS thing, I might be overreaching?
Anyhow, some example images… code examples at the bottom.
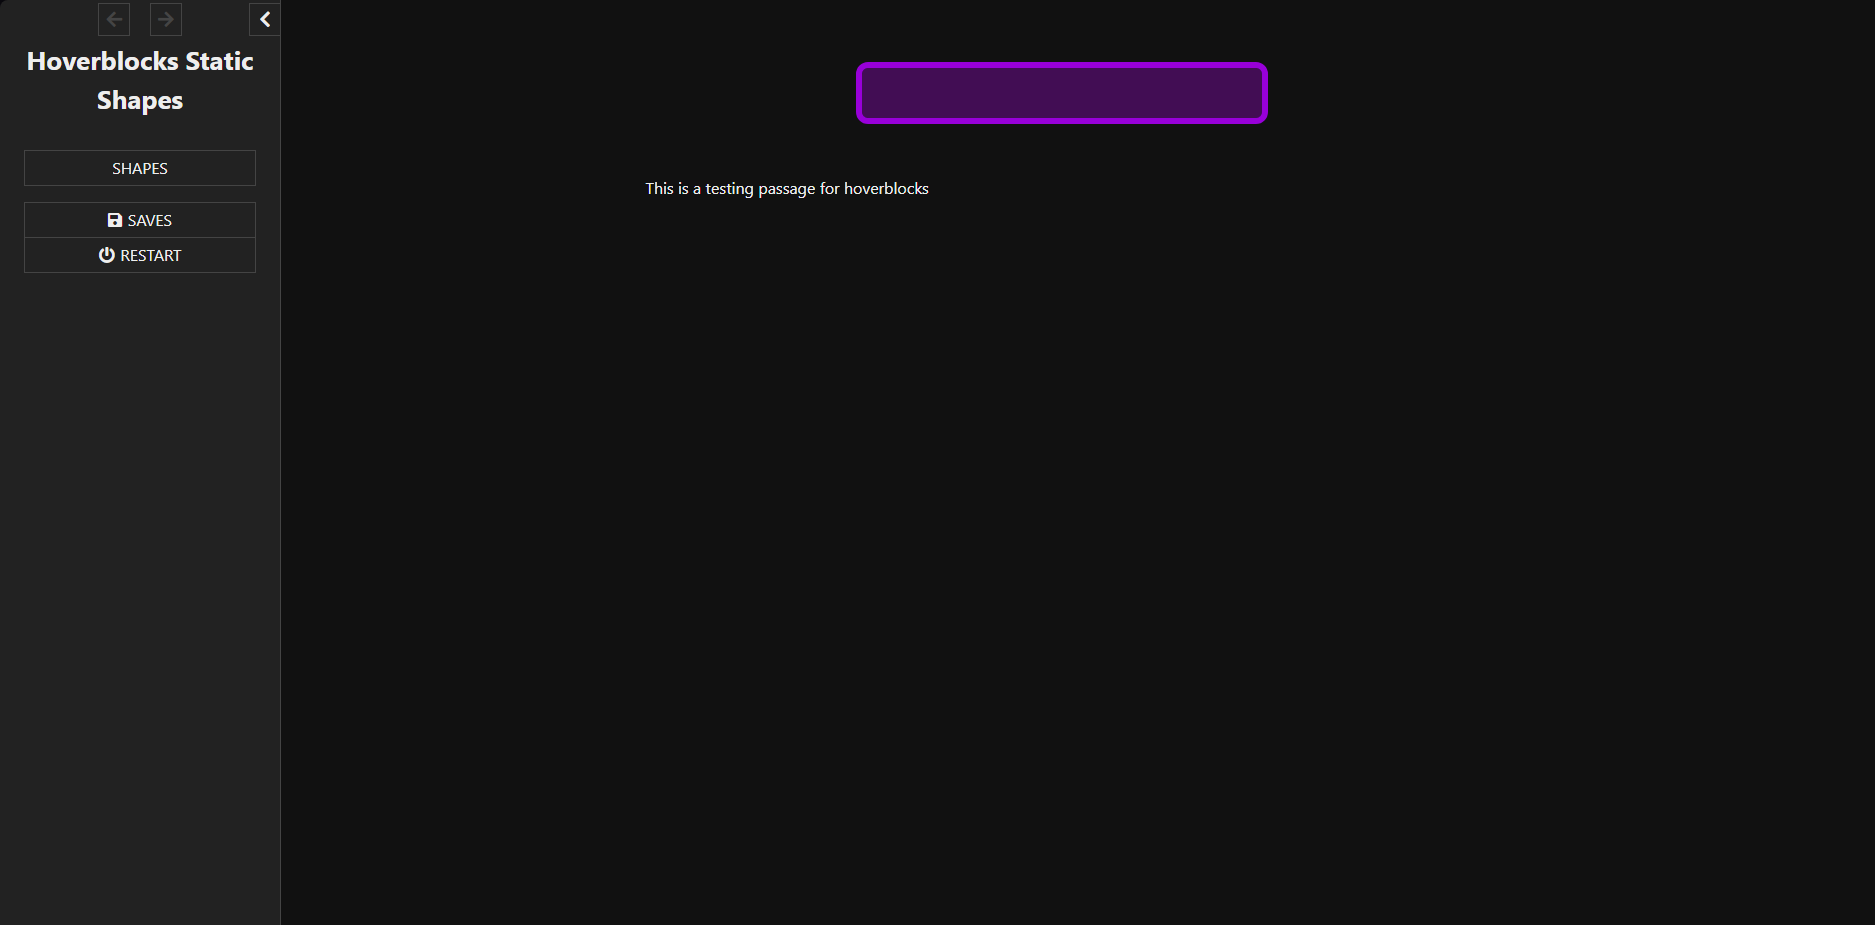
At 1920x1080…
Before hovering
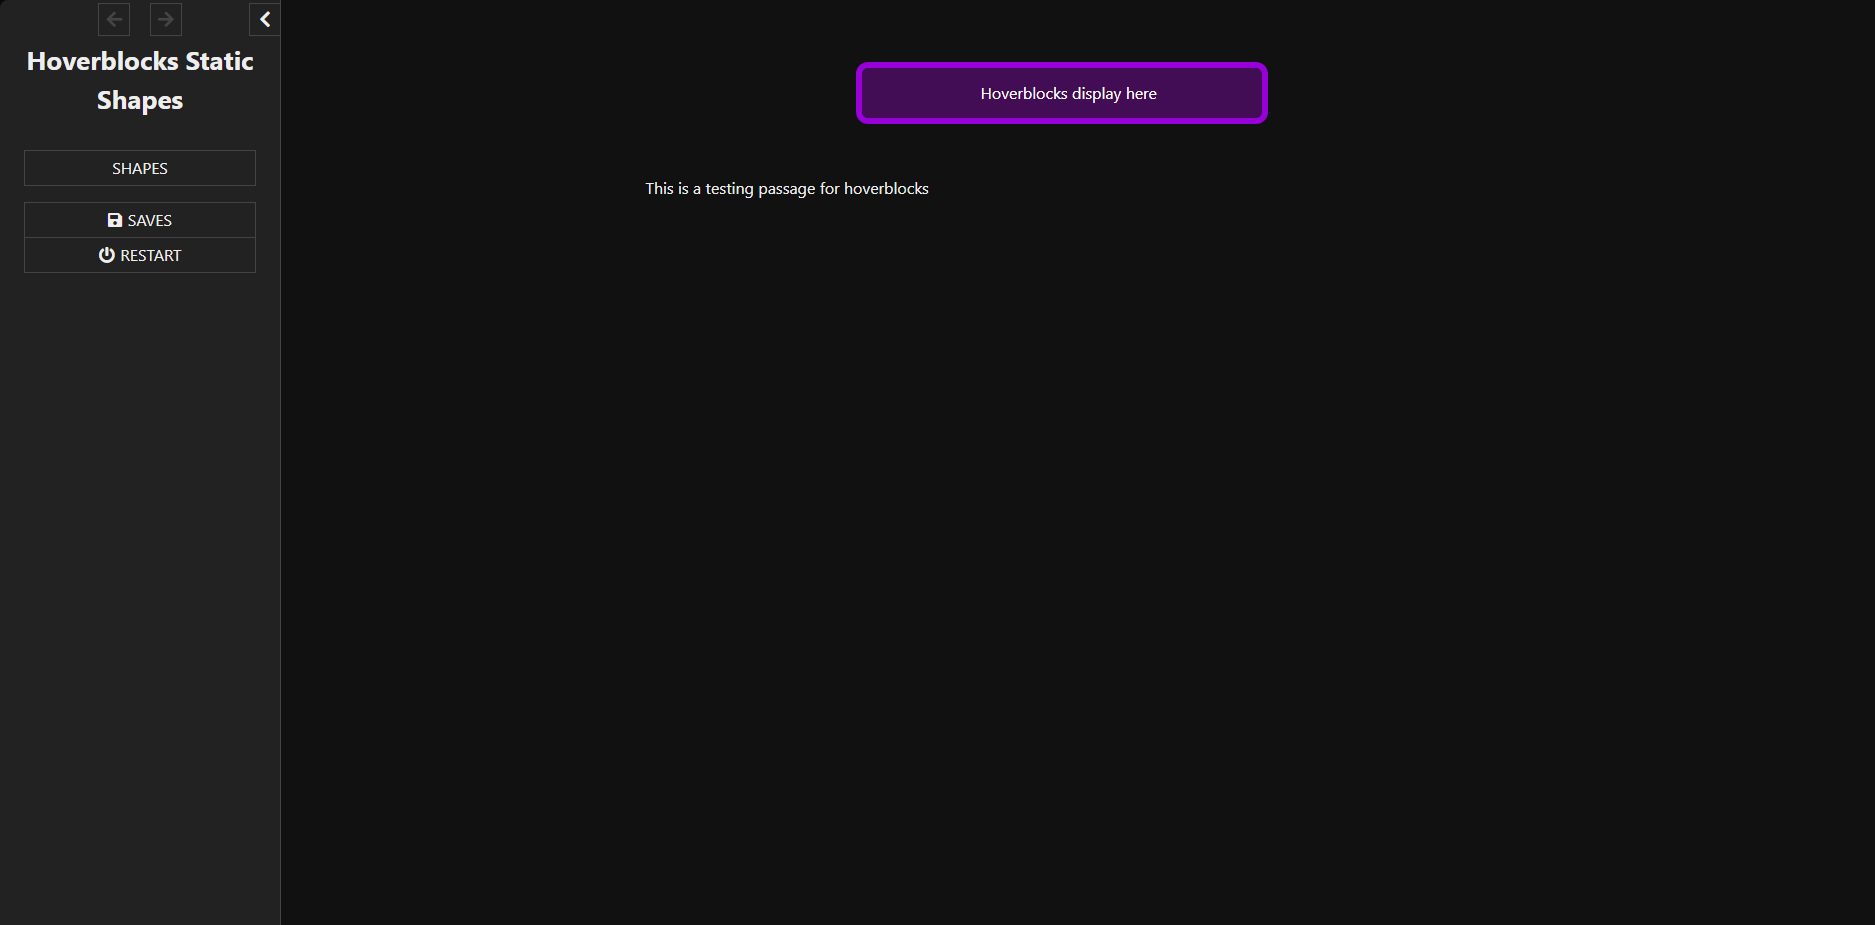
After hovering (on the word hoverblocks)
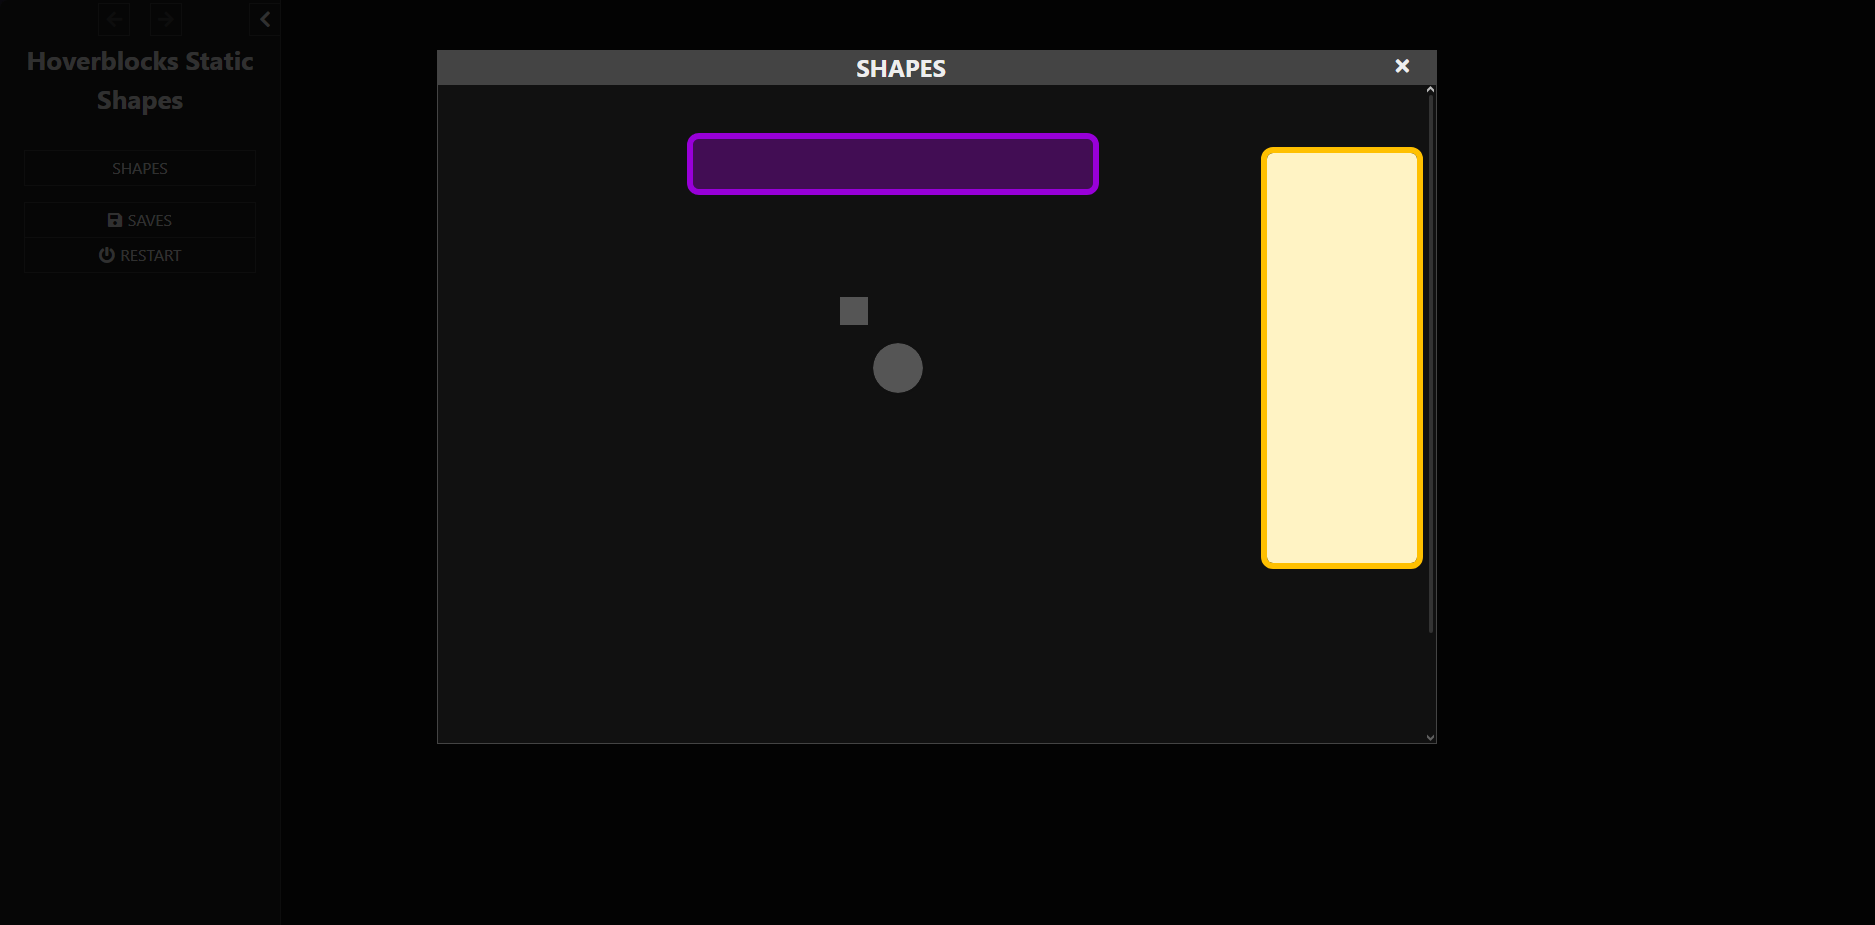
Before hovering on an example map
After hovering on the square

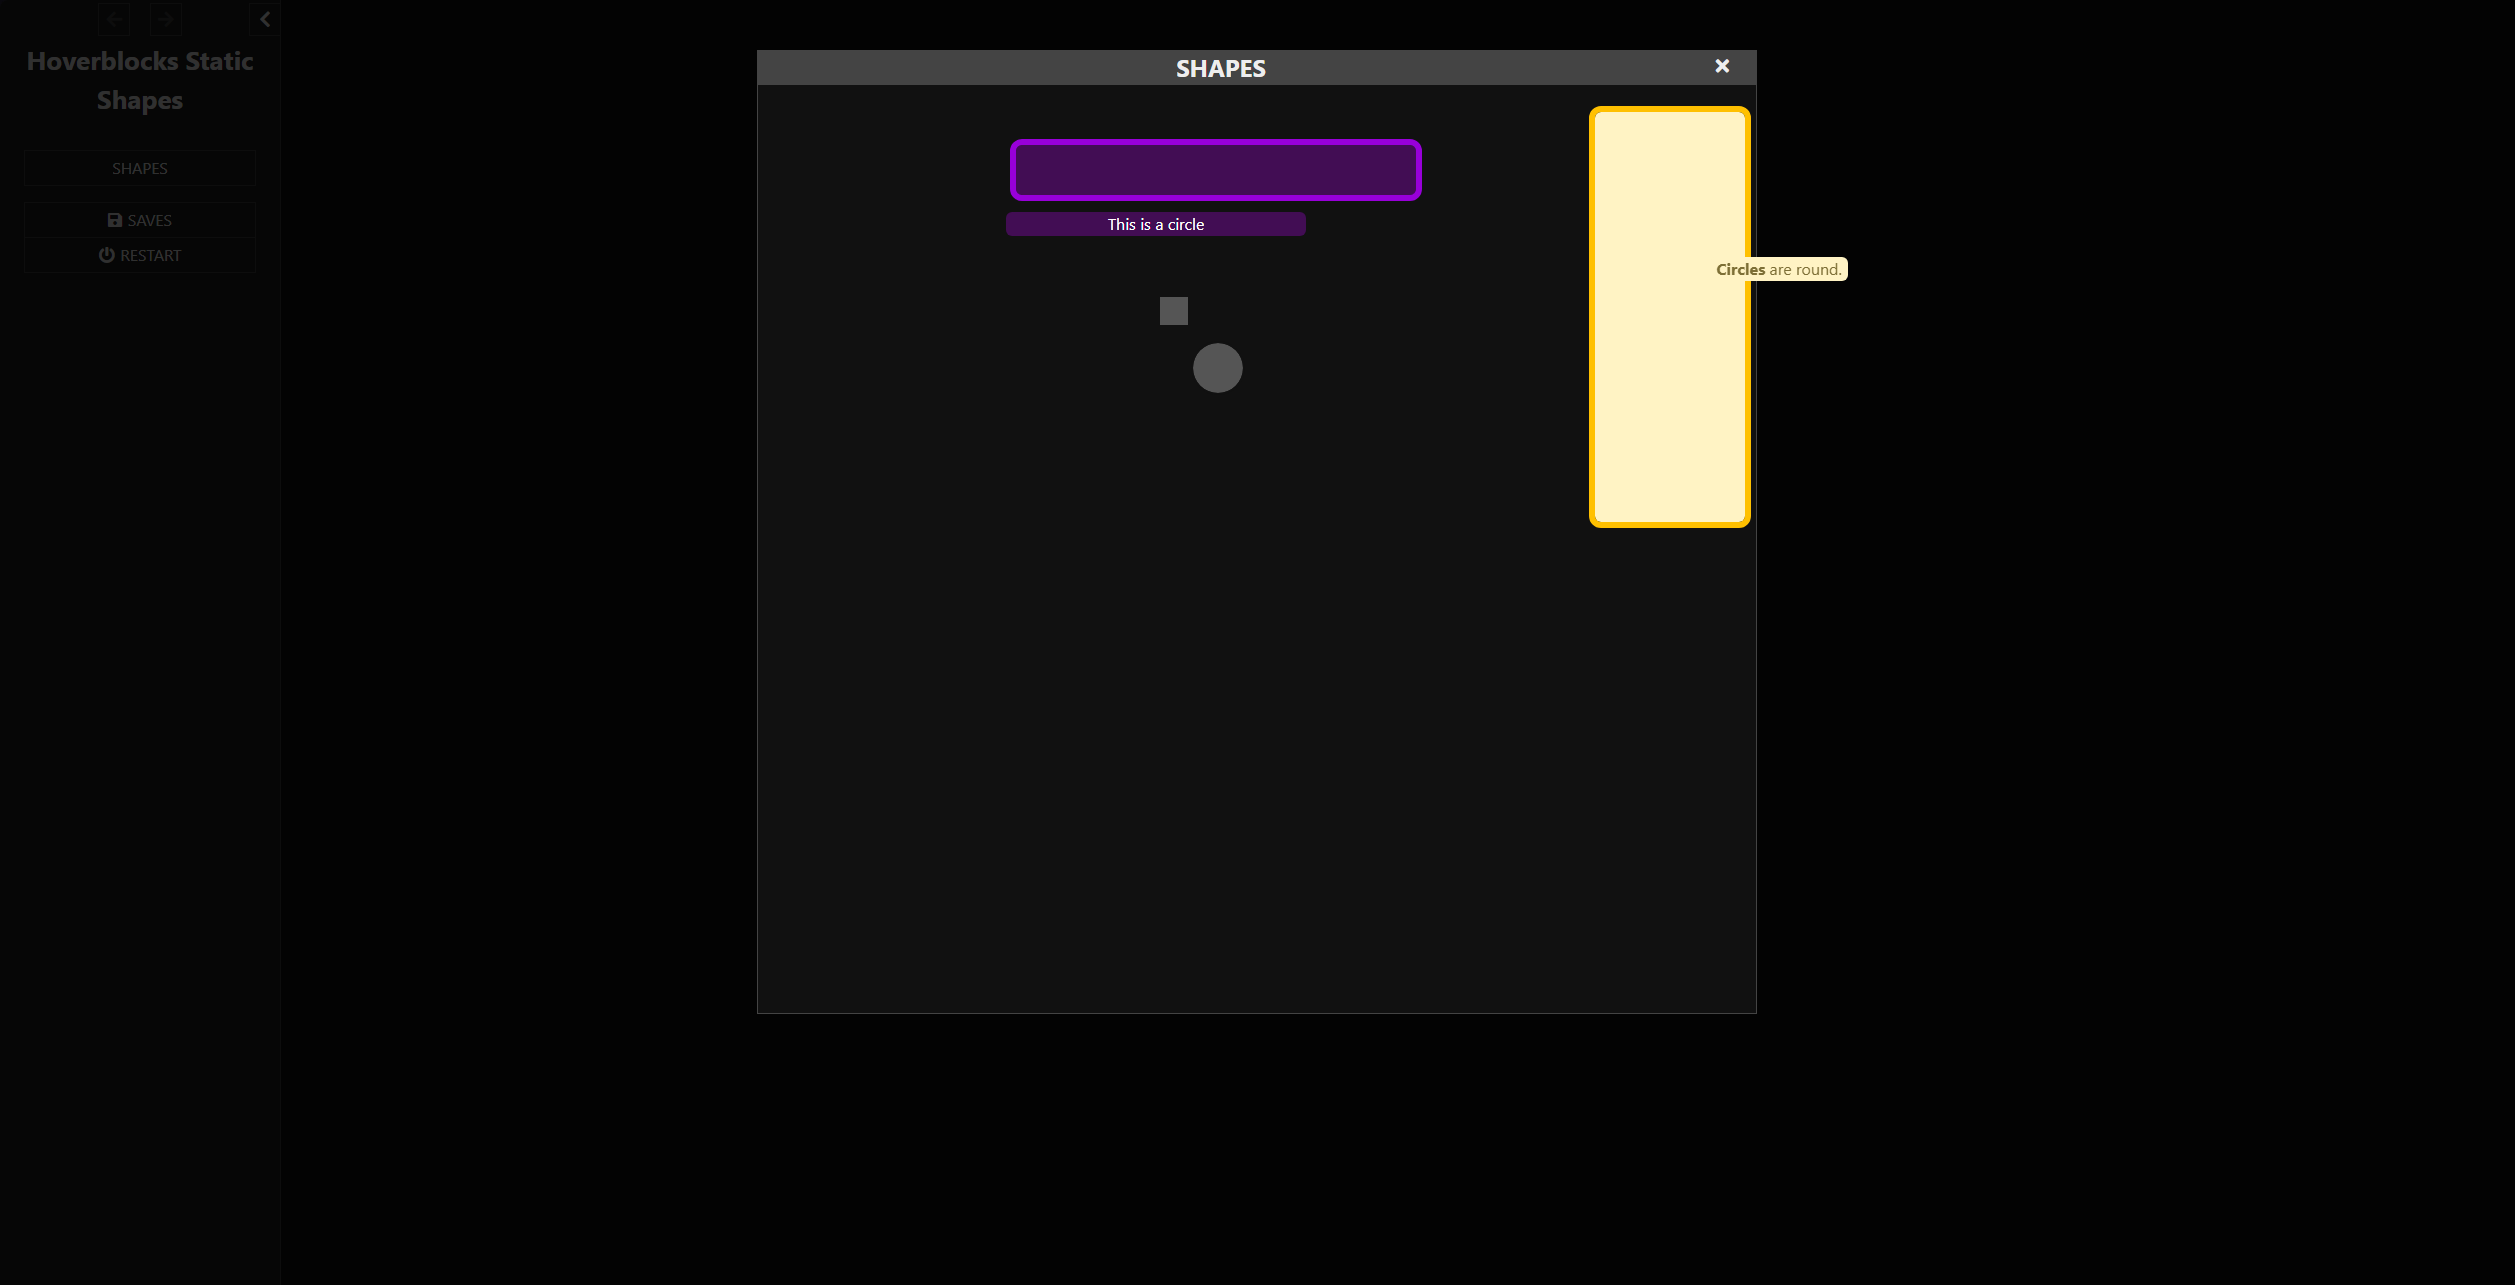
After hovering on the circle

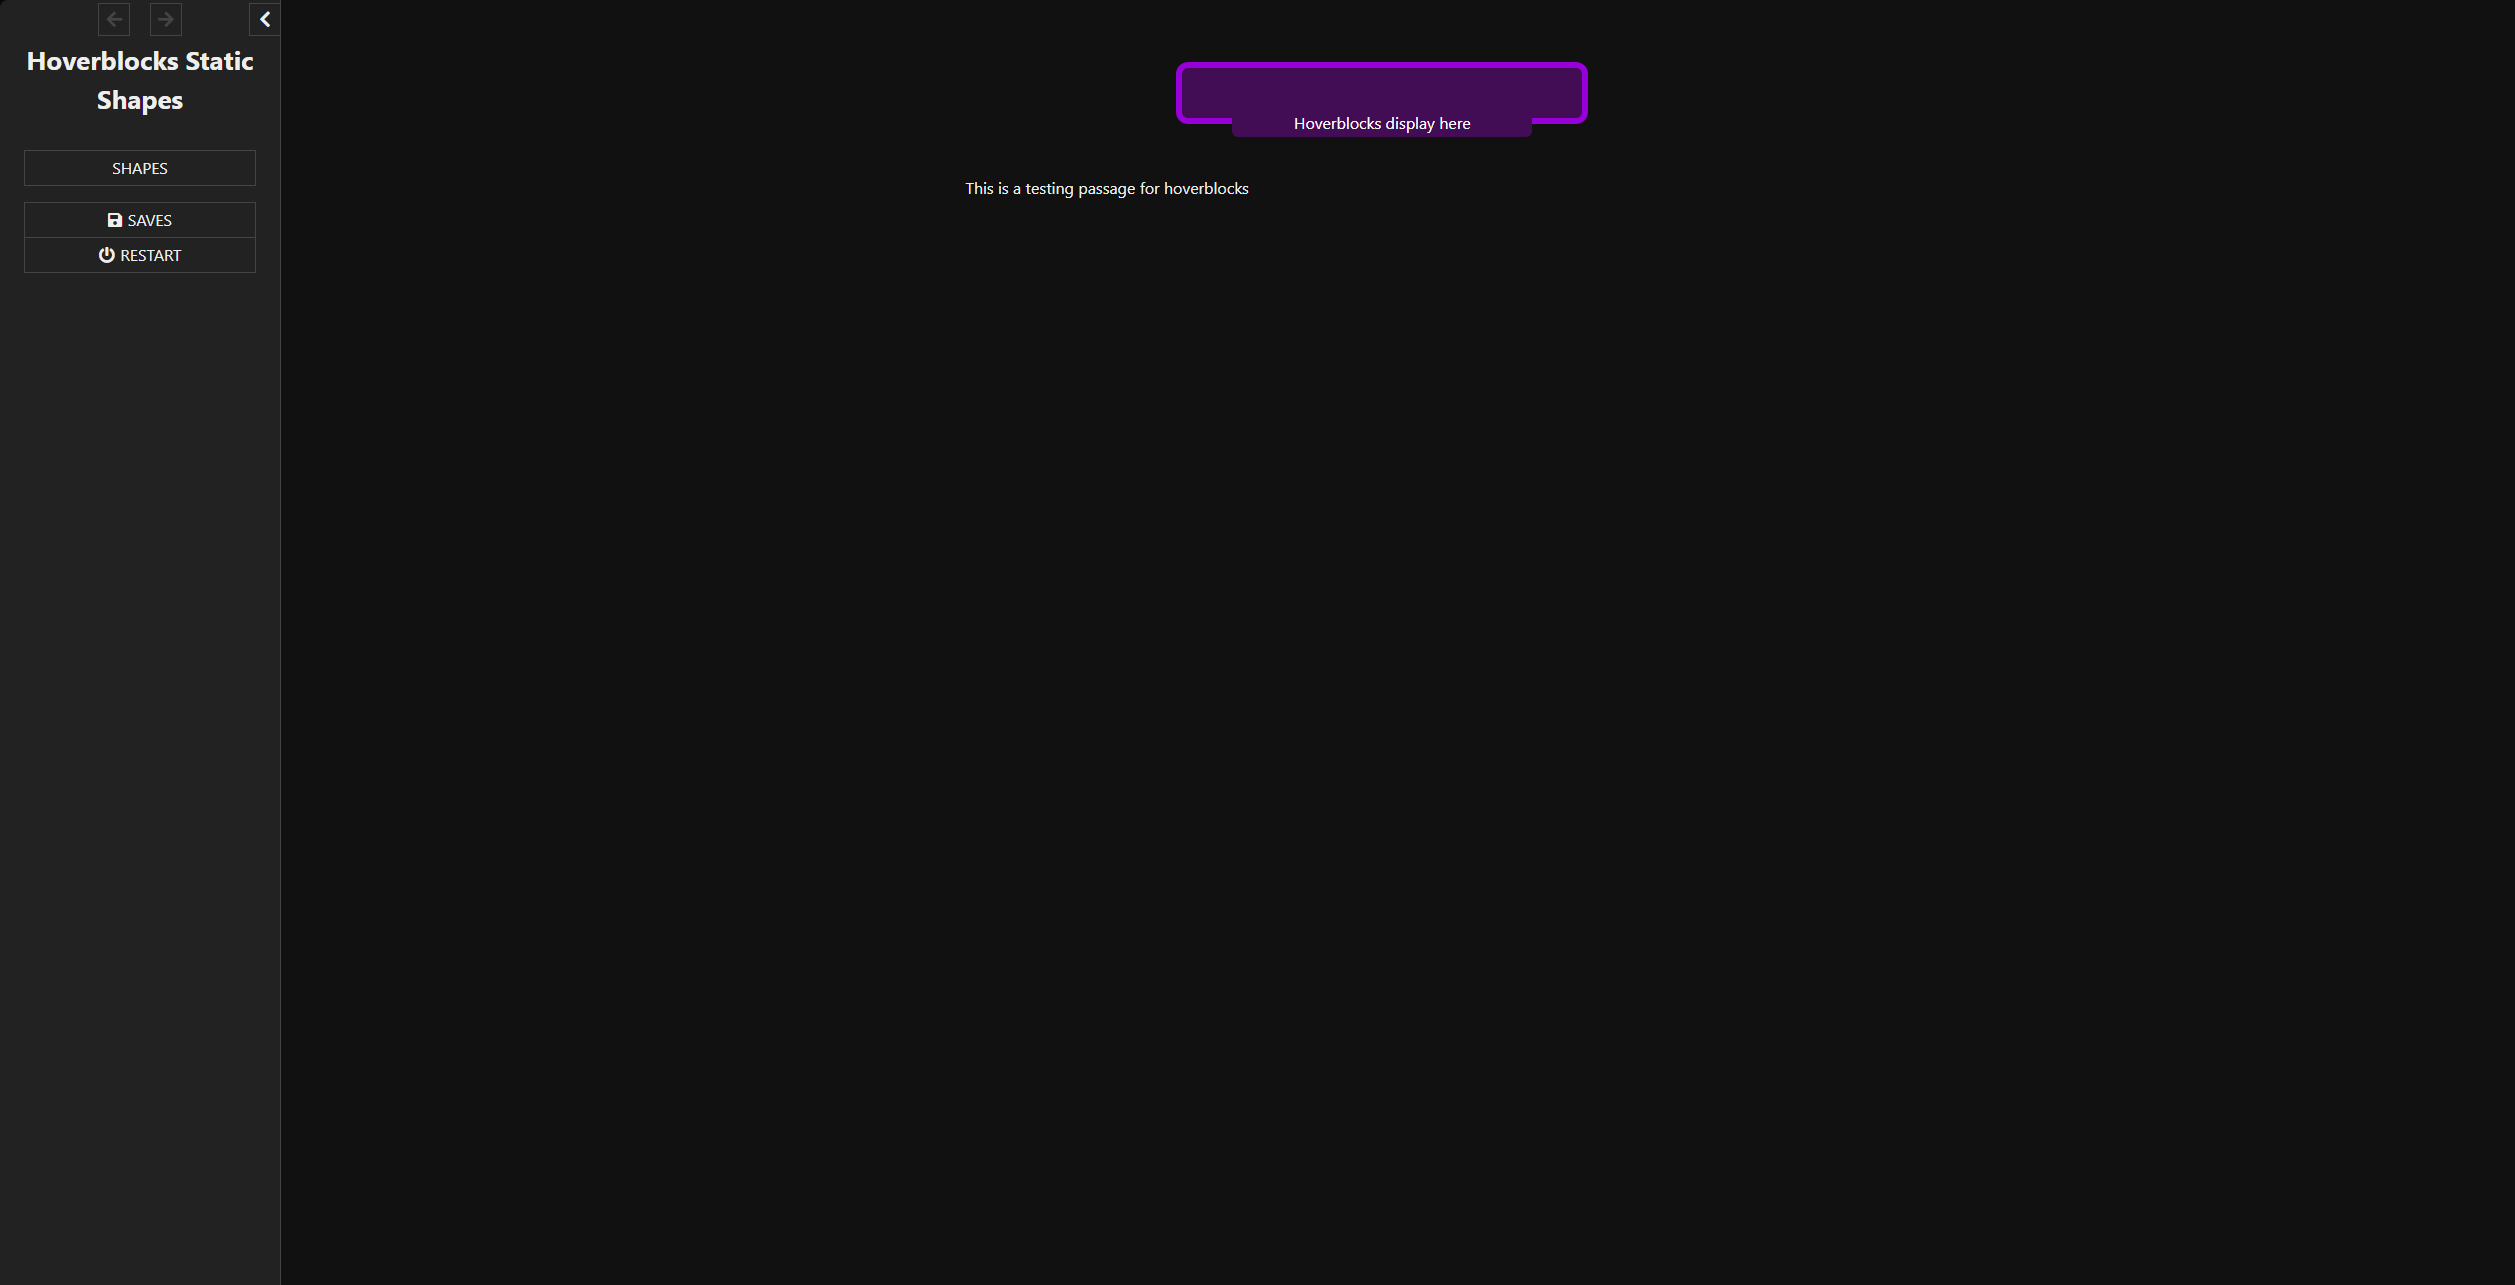
On a different monitor at 2560x1440…
After hovering…

I figured I’d also post the StoryStylesheet and ShapesPassage?
Stylesheet
:: StoryStylesheet [stylesheet]
/* Create Hoverblocks for links */
.hov {
position: relative;
display: inline-block;

}
.hov .hb {
visibility: hidden;
min-width: 300px;
background-color:#420D54; /* Customize background color /
color: white; / Customize text color */
text-align: center;
border-radius: 6px;
top: 8.5%;
left: 49%;
position: fixed;
z-index: 100;
}

.hov .hb2 {
visibility: hidden;
inline-size: 138px;
overflow-wrap: break-word;
background-color:#FFF3C4; /* Customize background color /
color: #7D6F36; / Customize text color */
text-align: center;
border-radius: 6px;
top: 20%;
left: 68%;
position: fixed;
z-index: 100;
}

.hov .hb3 {
visibility: hidden;
min-width: 300px;
background-color:#420D54; /* Customize background color /
color: white; / Customize text color */
text-align: center;
border-radius: 6px;
top: 16.5%;
left: 40%;
position: fixed;
z-index: 100;
}

.hov:hover .hb {
visibility: visible;
}
.hov:hover .hb2 {
visibility: visible;
}
.hov:hover .hb3 {
visibility: visible;
}

#ui-dialog {
width: 75%;
max-width: 1000px;
bottom: 10%;
left: 12.5%;
height: 75%;
}
ShapesPassage
<style>
.MainDisplay2 {
  width: 400px;
  height: 40px;
  left: 25%;
  top: 2.3%;
  background-color:#420D54; /* Customize background color */
  color: white; /* Customize text color */
  text-align: center;
  border-radius: 6px;
  outline-style: solid;
  outline-width: 6px;
  outline-color:#9800D9;
  padding: 5px 0;
  position: relative;
  z-index: 99;
  }
  </style>
<div class='MainDisplay2'></div>


<style>
  .SideDisplay {
  width: 150px;
  height: 400px;
  left: 85%;
  top: -15%;
  background-color:#FFF3C4; /* Customize background color */
  color: white; /* Customize text color */
  text-align: center;
  border-radius: 6px;
  outline-style: solid;
  outline-width: 6px;
  outline-color:#FFC000;
  padding: 5px 0;
  position: relative;
  z-index: 99;
  }
  </style>
<div class='SideDisplay'></div>

 <style>
.Square {
  height: 28px;
  width: 28px;
  background-color: #555;
  position: absolute;
  top: -450px;
  left: 386px;
  outline-width: 2px;
  outline-color: #111;
  outline-style: solid;
  z-index: 101;
}
</style>
<span class='hov'><div class="Square"></div><span class='hb3'>This is a square</span><span class='hb2'><b>Squares</b> have four sides</span></span>

<style>
.Circle {
  height: 50px;
  width: 50px;
  border-radius: 50%;
  background-color: #555;
  position: absolute;
  top: -500px;
  left: 419px;
  outline-width: 2px;
  outline-color: #111;
  outline-style: solid;
  z-index: 101;
}
</style>
<span class='hov'><div class="Circle"></div><span class='hb3'>This is a circle</span><span class='hb2'><b>Circles</b> are round.</span></span>
How I incorporated the StoryMenu passage to use the ShapesPassage
:: StoryMenu {"position":"1125,175","size":"100,100"}
<<link "Shapes">>
	<<script>>
    	Dialog
        	.create("Shapes")
            .wikiPassage("ShapesPassage")
            .open()
       <</script>>
<</link>>
Let me know what you think?