Nice! Creative people always make art look so easy.
4 Likes

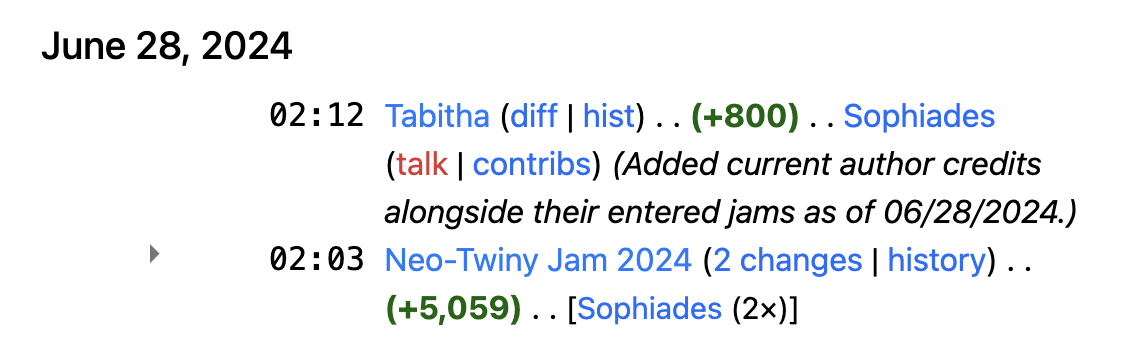
The kid and I were messing around with some construction paper. He paused arts and crafts for dinner, but we made one flower.
8 Likes
oh hey I recognize this art – very glad my little drawings bring you and other people joy ![]()
4 Likes
Eris is so beautiful. ![]()
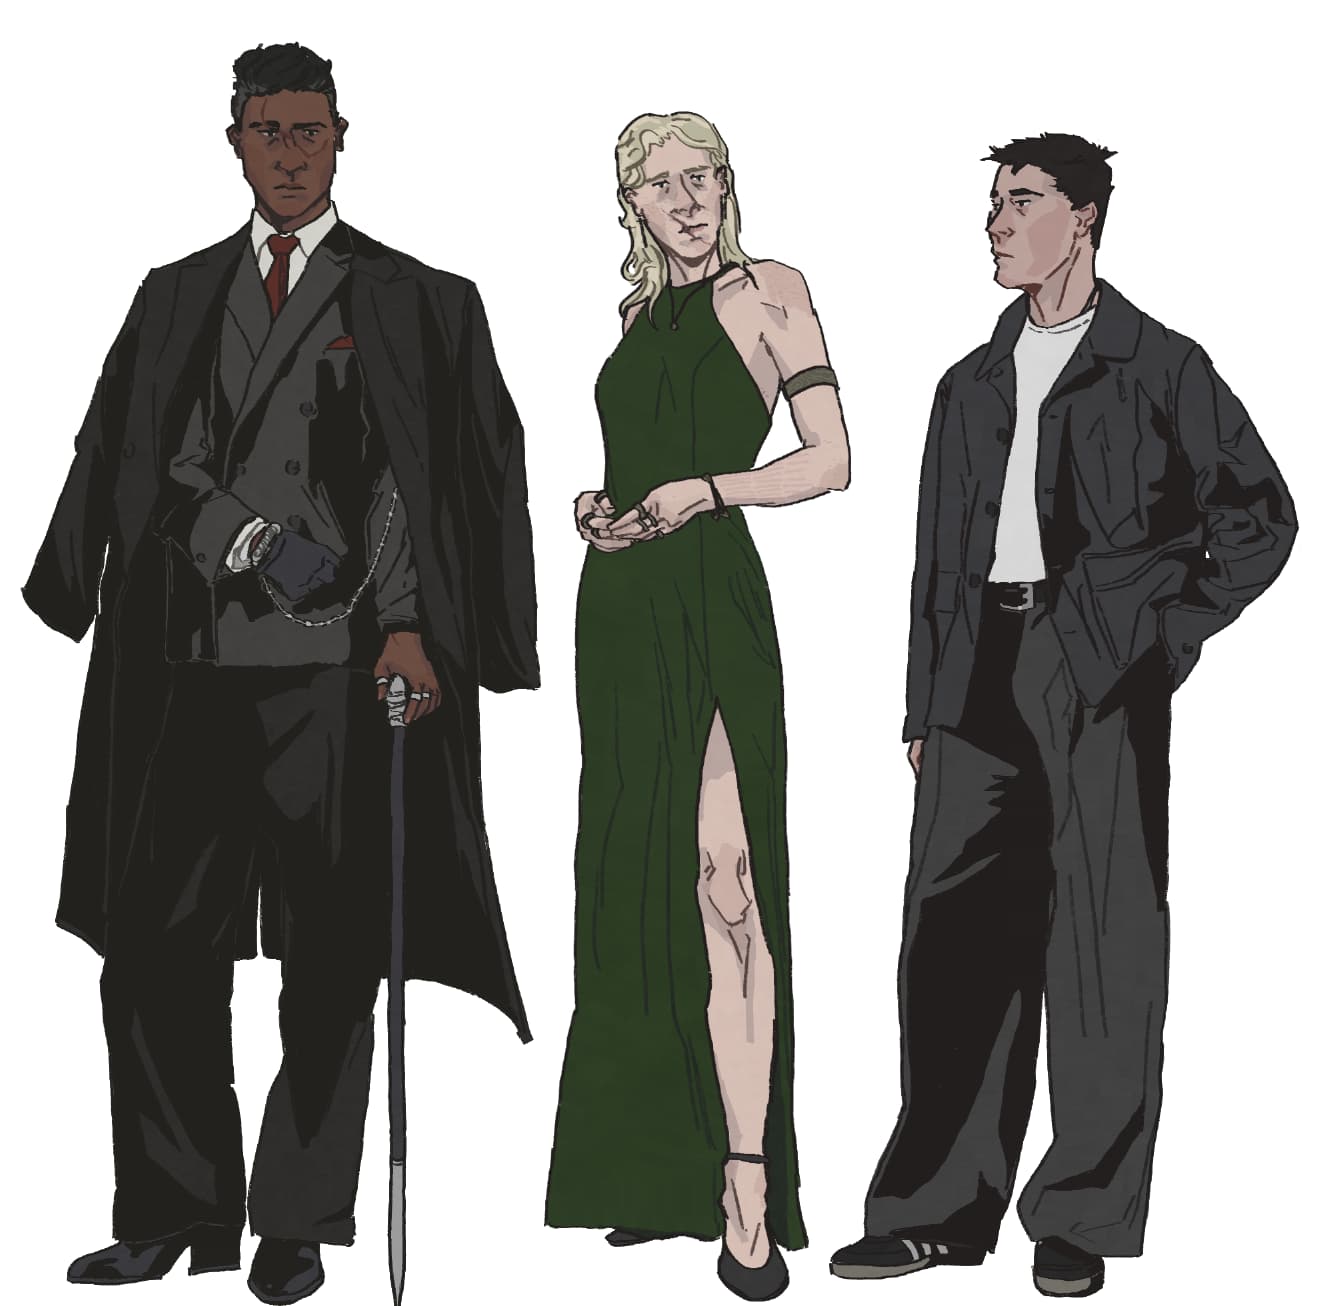
As Meownon and Jinx pointed out last night, you have a fantastic sense of weight and draping when it comes to fabrics. While our styles are pretty radically different, I really admire artists who are able to execute pieces with just gorgeous lineart and flats- it really bares your understanding of the fundamentals and is a razor thin line to ride for capturing image likeness. Not to mention, all of the full bodies you draw! It’s very impressive.
5 Likes
Turns out the air fryer is fantastic at making bagels. It was crunchy, crispy, and delicious- I ended up slathering it in leftover mashed potatoes and gravy from what my kid didn’t finish for dinner, and it was SUCH a good combination. Can’t go wrong with carbs on carbs.
3 Likes
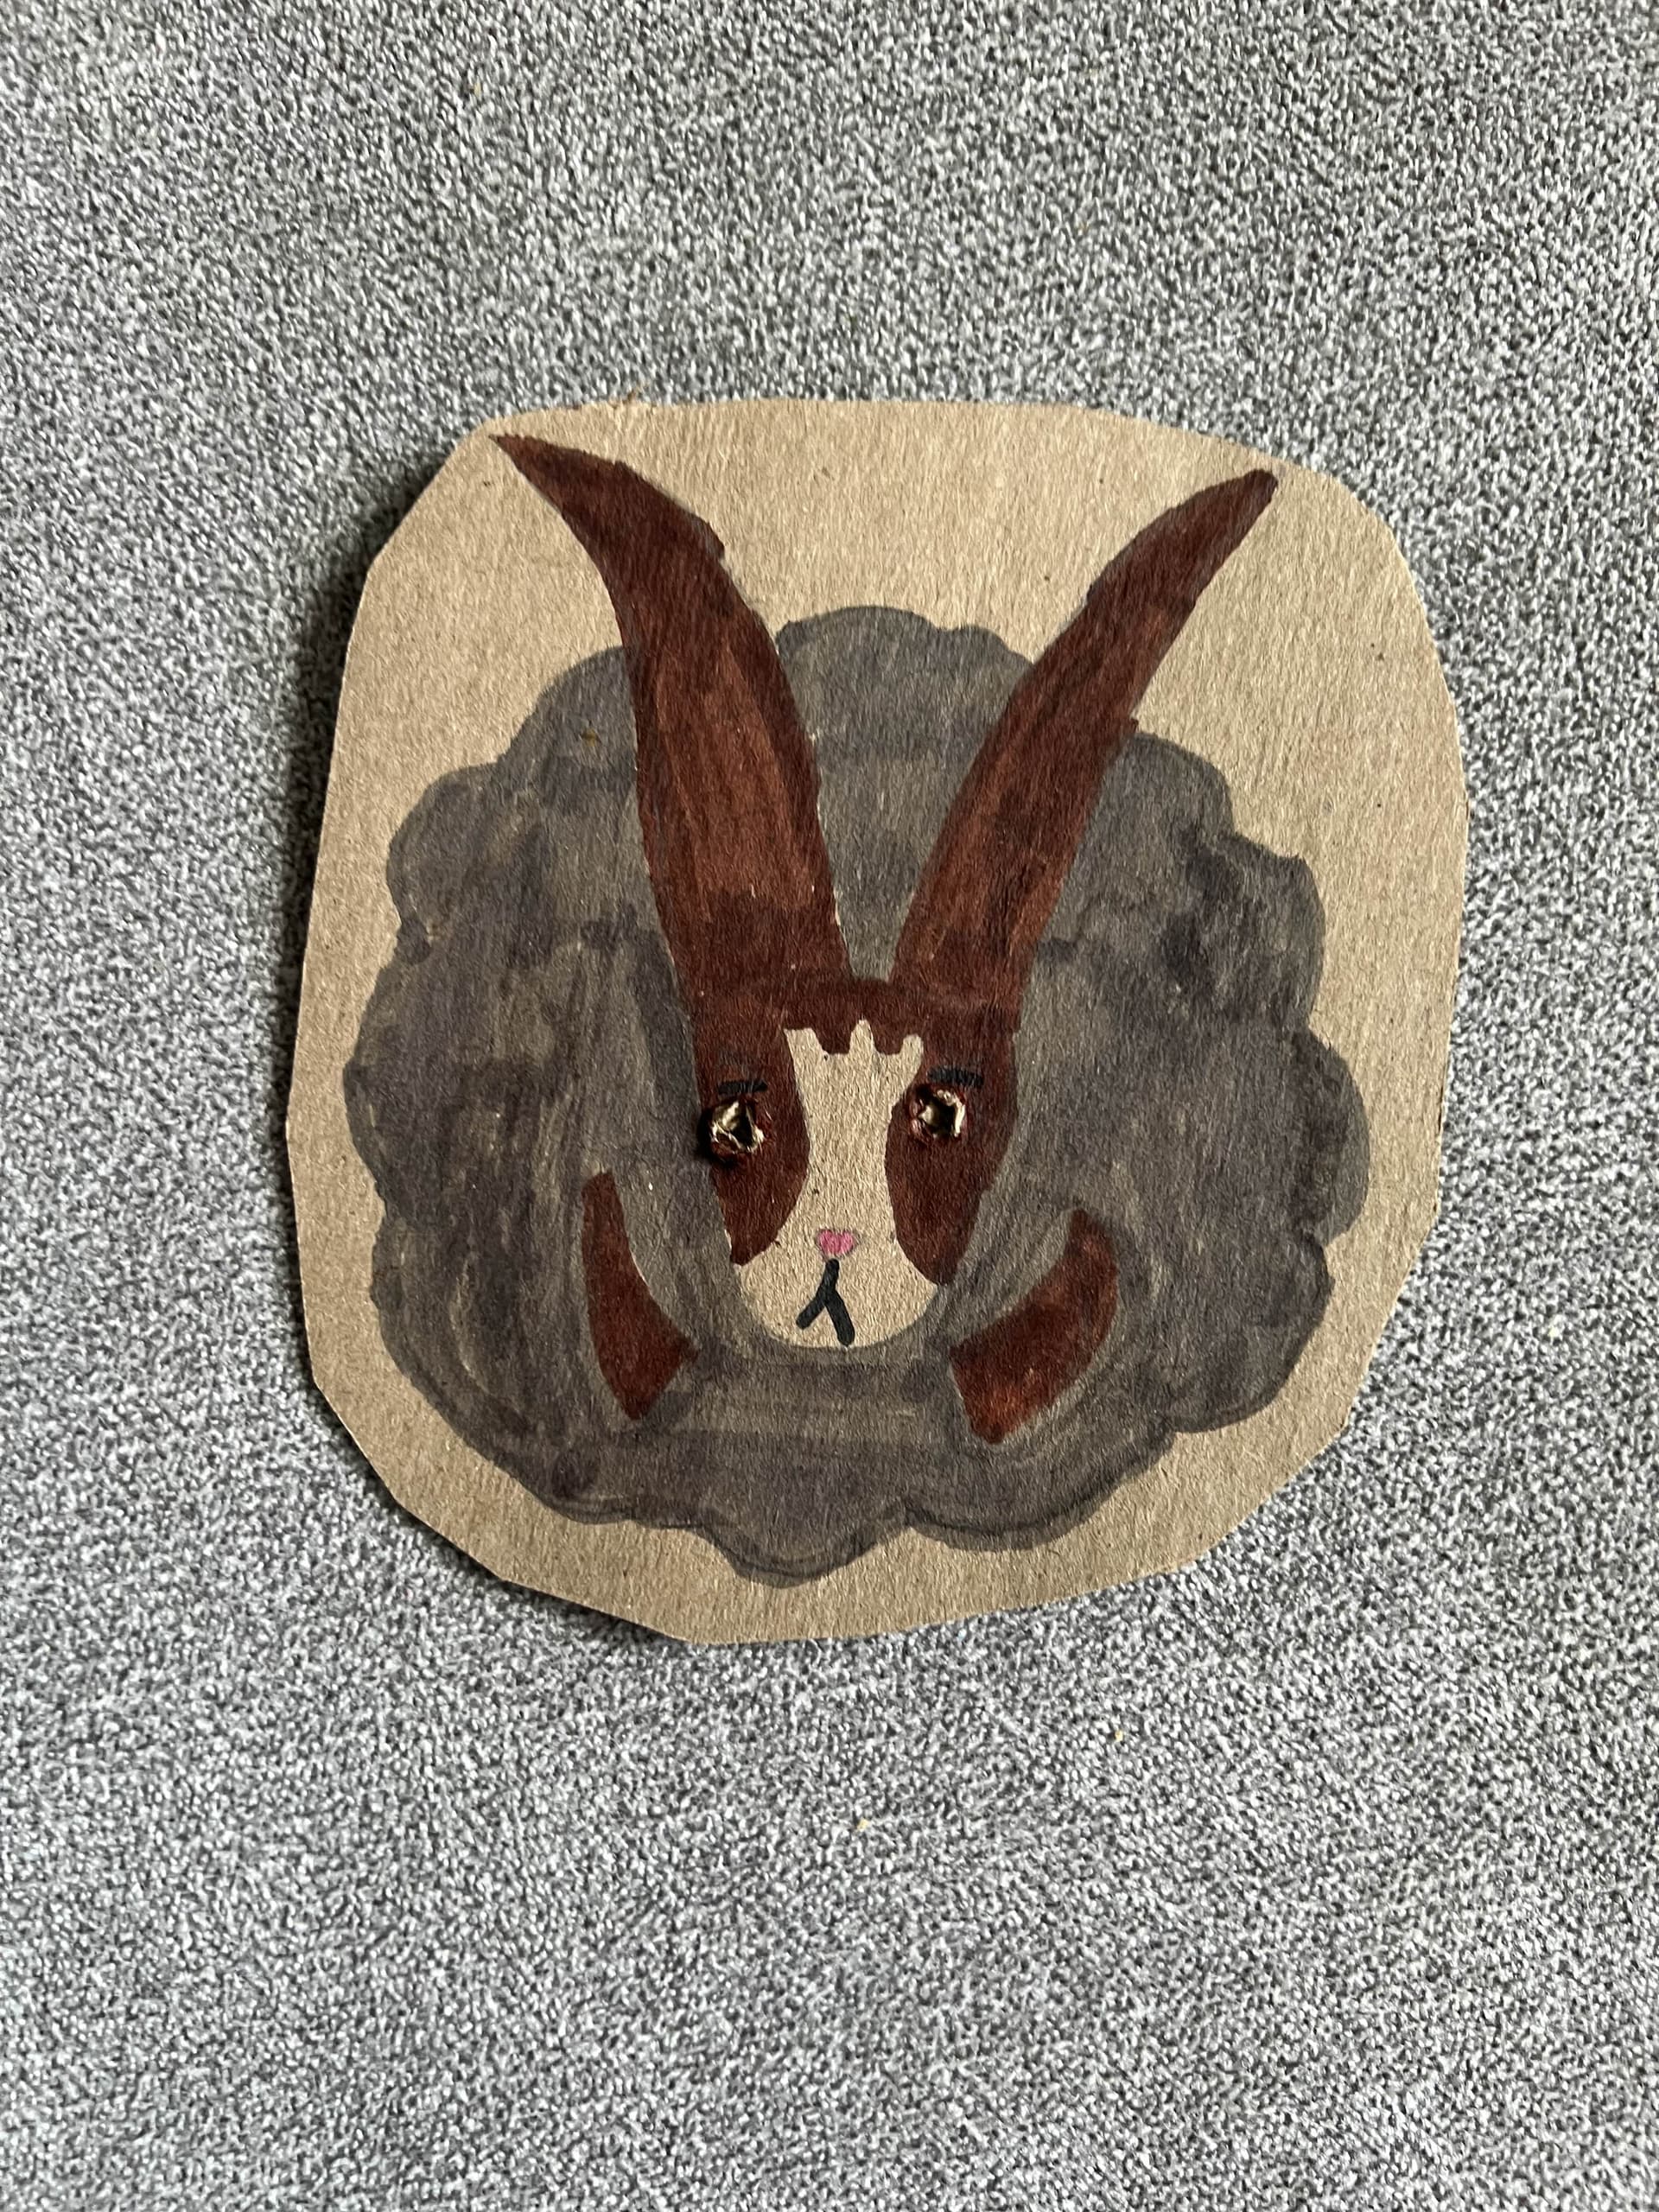
Replying to add a little context and to show off just a little – I’ve been making references for characters I’m using in a TTRPG I’m playing with Sophia, Jinx, Manon, and a few other folks (and having a great time doing so!). I’ve got two characters left to draw but both imagining the outfits and then assembling references is proving difficult ![]()
6 Likes
I confess, I don’t think I’ve ever been to the mountains. Instead, I’m stuck in the sun baked coastal plains. Still, there are times I wish I could afford a summer home in Maine or Canada or could just hibernate through the summer months.
I too love arts and crafts, but don’t get to do them as often as I’d like. Don’t really have anywhere to use as a workspace or to display larger pieces, can’t always afford the materials or tools for projects I’d like to try, and online tutorials often rely so heavily on visuals that there’s not enough text or audio for a blind person to work with.
On a more positive note, my experiment with cutting the cook time for rotini in my mini rice cooker and pre-soaked dried pinto beans in my other mini rice cooker from 30 minutes and an hour respectively to 20 minutes and 40 minutes worked well… Also, I’ve calculated that I can skip restocking tea out of June’s SSDI and do so with July’s Food Stamps, meaning I can do a bit more splurging when I do my big grocery order for July(buying pie to celebrate Tau Day on Friday is actually an option!).
And for those who don’t know, Tau is the ratio of a circle’s circumference to its radius and is equal to 2pi. Some believe Tau is more fundamental than pi as there are many formulas in math and physics that are simplified if written in terms of tau instead of pi, and if you count radians in terms of Tau, the fractional multiple of Tau is equal to the fraction of the circle(e.g. a quarter circle is 90 degrees, pi/2 radians or tau/4 radians, a third of a circle is 120 degrees, 2pi/3 radians or tau/3 radians). And just as many math geeks celebrate Pi Day on March 14 because 3.14 are the first 3 digits of pi, some tauist celebrate Tau Day on June 28 because 6.28 are the first three digits of tau. In either case, pie is the traditional celebratory treat for both, though symbolically, you should have twice as much pie on Tau Day as on Pi Day.
8 Likes
Excited about a new game idea for the first time in ages. Whether it’ll actually get made is another matter (I have been spectacularly low on creative motivation this year as there’s so many other things going on right now) but it’s nice to be thinking about this stuff again.
10 Likes
I fell asleep under a tree, while reading under its shade (it’s very warm right now, but the wind was cool). Didn’t realise until my e-reader beeped itself off xD
11 Likes
We had some onions that were ferociously sharp. We tried eating them in a salad and they were too much. So I caramelized them in wine and balsamic vinegar, which calmed their flavor, and made an onion tart with them, some spinach, gorgonzola, and some egg custard. A delicious breakfast.
14 Likes
The best place to read, the best way to sleep.
6 Likes
Beautiful flowers. I am going to share these with my teacher wife. She may be inspired to use them in her classroom.
3 Likes
Thank you! That’s really wonderful to hear. I made these with my kid, who is in elementary school, so hopefully her students would be able to make these without too much difficulty as well. In case this is helpful, I will include written steps below that are cleaned up from a chat with Mike:
For the flower: first, cut out even strips from construction paper. I found the easiest way to do that is to repeatedly fold the page in half, and then cut along the folds once opened up, to ensure it’s somewhat uniform in appearance. Then, roll them tightly into small cylinders, progressively wrapping layers around the core. Alternating the colour of the strips helps add dimension, I’d recommend a deep tone (red, here), a middle tone (pink) and a highlight tone (yellow.) You can lay a piece of tape on the bottom to loosely hold the cylinders together.
Once you’ve made the centre as large as you’d like, fold one of the strips you’d previously cut in half repeatedly, and cut out squares. You’ll need eight of them. Then, bend a strip along the top of each square, so that the paper makes a ‘L’ shape. The bent lip will be the top of the petals. Position four of them along the core, so that all sides are covered. Once taped into place, you then line up with outer four petals such that they overlap between two of the previously placed petals- another way to think of it is that you want them to fill in the ‘V’ gap between the placed petals.
For the leafs, cut out a leaf shape from construction paper, larger than you’d like the final shape to be. This is easiest for little ones if you tell them to cut a circle, and then cut along the edges to make it taper to a point. If they know what a pentagon is, they can also do that, if they find straight cuts easier. Fold the shape in half length wise, and secure with tape pinching the bottom, so that the leaf forms a cup. You may find that running the flat shape of the back over a pencil, or your finger, will help it conform more easily in the fold, but it’s not strictly necessary.
We added ours onto a stem, (well, a branch, according to my boy, haha) which was simply a tightly rolled sheet of construction paper taped to secure it. Flipping the flower upside down, I poked a hole using a compass into the tape holding the cylinders together, and pushed the stem in. This might be a bit finicky, so it’s best to have an adult help if they’re quite young, or omit this entirely and go for a more simple arrangement of the flowerheads in a bowl, rather than a tall vase or cup. A bit of tape might be added to firmly secure it if needed, and you’re done! Optionally, you could tape more of the leaves along the length of the stem, but my son wanted to keep it bare, because he thought it looked more realistic, as I trim the foliage below the waterline on our actual floral arrangements.
We have made several of these. You can use the same technique in shaping leaves to tape to a skinnier core to form petals for variation, which will make a flower that looks more like a lily, especially if you curl the tapered tip so it splays. Another technique is to fold loops of paper strips, and then securing them all together to make more of a bushy, hydrangea look. Experimenting with colour and edges will yield tons of different designs! It’s also a great opportunity to encourage slightly older students to learn more about the petal patterns that vary between monocots and dicots, or about the differences in leaf edges, veins, shapes, and arrangements. And, of course, practicing hand-eye coordination and general craftiness. With the kid, we often recreate wildflowers we see on our walks outside or trips to the park, which is a good way to engage him more actively in nature and the creative, observational process- between that and birdwatching, it’s made him quite keen to sketch from life!
4 Likes
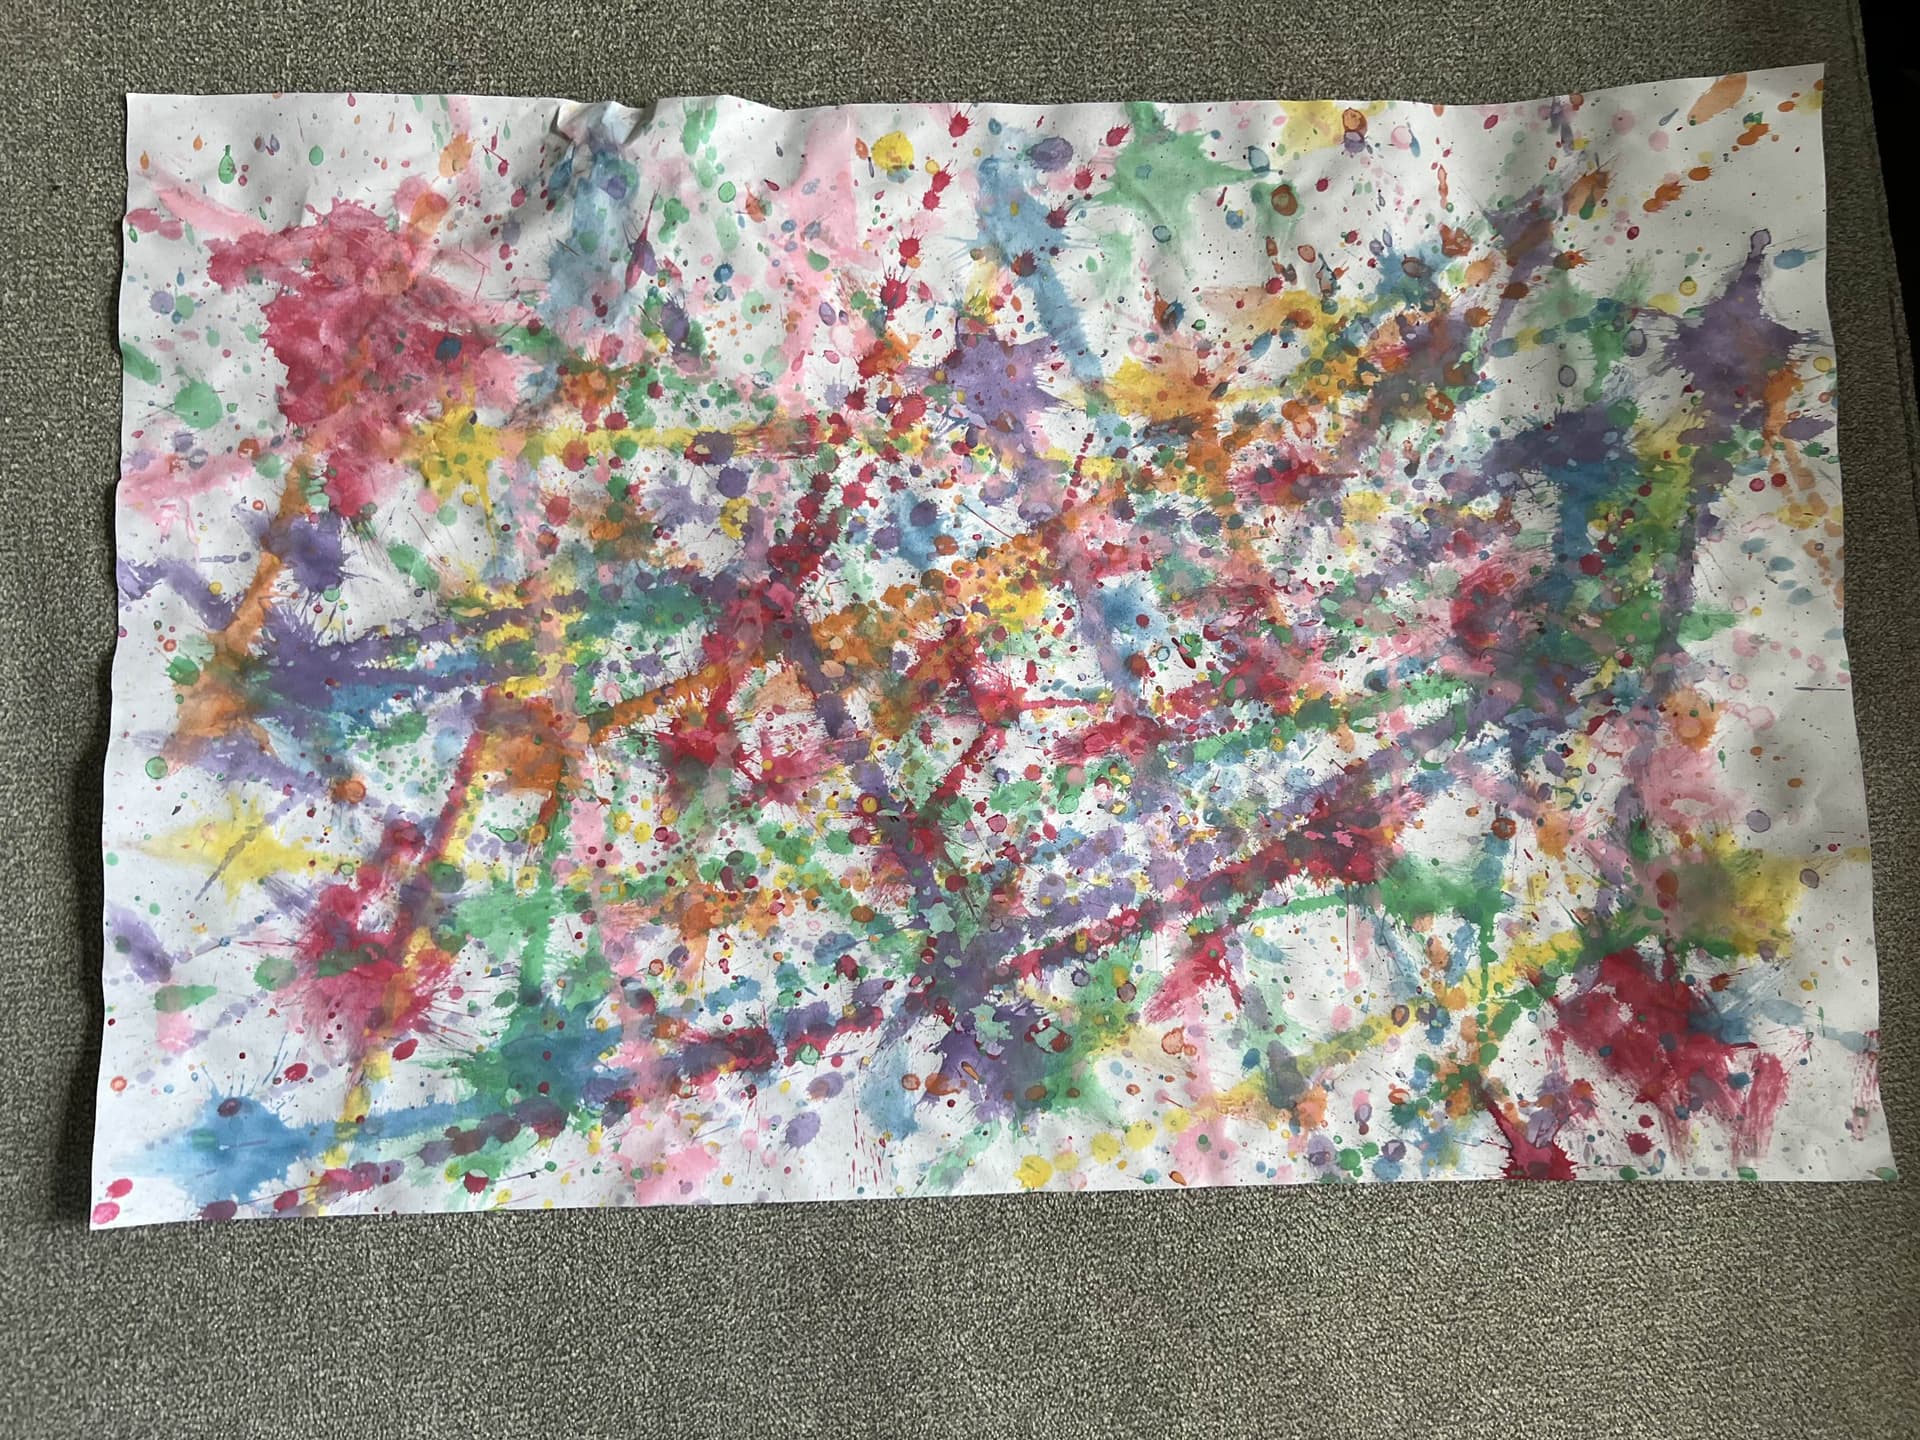
Speaking of art and my kid, he came home today with art he made at school! I’m very proud of him, and they’re going right up on the fridge. He’s a fantastic little artist, all of his practice in his sketchbook, and experimentation with paints has really paid off. So happy he enjoys the hobby.
6 Likes
Woke up to very sweet messages from the hephmeows- a few of our more organized members save the date for when people joined, and it was lovely to have people celebrate what has become a friend-versary or as Sarah put it playfully, a gotcha day, like for pets. Crazy to think we’ve all known each other for several years at this point…
3 Likes
Forgot to mention this, but I paid off to of my mini loans with Affirm yesterday, including the one I took out to buy my portable air conditioner(which has been working great since I freed up some space around it and started draining it into a large plastic container that cheese puff balls came in).
Also, went ahead and ordered some pie from Walmart to be delivered tomorrow. Got a dozen 4" mini pies in a mix of lemon, blueberry, and apple and a 48 oz tub of vanilla ice cream.
And while on the subject of arts and crafts, I’ll share a craft I came up with myself(though I wouldn’t be surprised if someone else has though of it).
Anyways, the basic idea is to create a pattern of dots(I’ve used planar constructions built with Zome tool and polydron for making jigs, but you could hand draw a pattern or use a connect the dots drawing from an activity book. Lay your pattern over a sheet of semi-rigid material(chipboard, foam board, metal sheet salvaged from food or soda cans, single ply wood, old plastic food container lids are all options) and for each dot, make a hole in the material(I’ve used small finishing nails, but push pins or thumbtacks might work if you’re using a printed or handdrawn pattern and you might want to widen the holes with a darning needle). ONce you have your pattern of holes in the sheet materail, use straing material(I’ve used yarn, string recovered from removing the rubber from broken hair elastics, copper wire, twisted pair wire salvaged from severed ethernet cable, pipecleaners) to connect the dots. and with a bit of ingenuity, you can even create different patterns on each side of the piece.
Of course, proper adult supervision and safety gear as appropriate to the choice of materials and tools.
The photos might not be the best(they were taken by a blind man after all), but I’ve uploaded photos of some pieces I’ve done with the above process at:
http://sightless-sanctuary.net/Crafts/
Also, one craft project from my time in school that stands out in my memory:
The instructors prepared large sheets of cardboard and used yarn glued to the surface to outline the major elements of famous paintings. Each student picked one of the prepped images and used verious textured materials to fill in the different areas of the image(keep in mind, this was at aschool for the blind and visually impaired, it was a group of elementary aged students, and many of the students had cognitive disabilities in addition to their blindness or visual impairment). I remember among the materials we had to work with included things like crushed eggshell, colored sand, dried beans, the usual assortment of crafting beads, felt, adhesive backed velvet sheets, etc. Would kind of like to give making a fully original piece in the style… and while it wasn’t available for this project, I remember another, smaller scale project where we used the is petals the right word? from a large pinecone to represent an owl’s feathers(it had googly eyes and a construction paper beak).
I’ve also given thought to the idea of doing patchwork with a different material for each color I’m working with(like say, an American flag with a blue jean field and stripes of red flannel and white linen).
4 Likes
I believe the term is scales, for pinecones. That sounds very cute though, I will have to give that project a try with my child, since he already loves to collect them and enjoys cobbling things together out of found materials.
1 Like
Thank you for the instructions. I am going to print and share them. Debbie is a life skill teacher and teaches students through the all elementary grade levels. She is always looking for interesting things to add into her lessons. This should be very nice.
2 Likes
Of course! Teachers do so much for us and their students, so I’m glad to have been helpful. She sounds like a wonderful instructor, I know that many of my own teachers from when I was young had a remarkable and lasting impact on who I am as a person today, by similarly fostering my creativity. I wouldn’t still be writing without encouragement from my fifth grade English teacher.
1 Like